Working with Point Clouds (3D)
When dealing with Point Cloud processing and analysis, there are several components that provide you with the means to directly load and analyze point clouds, as well as to export result as raster images, such as DSM and DTM.
Loading and Creating Point Cloud Data
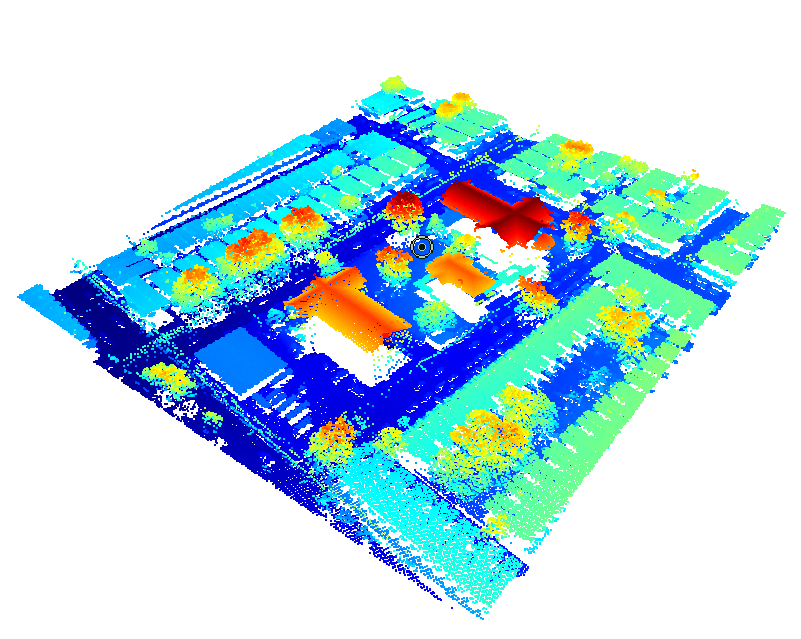
After loading, the point cloud is displayed in height rendering mode. A rasterization and interpolation of the data can be done based on the Rasterize point cloud algorithm ![]() . Additional layers can be generated using the algorithms Create temporary point cloud (see Reference Book > Point cloud algorithms) or Create top-down map (see Reference Book > Mobile mapping operations).
. Additional layers can be generated using the algorithms Create temporary point cloud (see Reference Book > Point cloud algorithms) or Create top-down map (see Reference Book > Mobile mapping operations).

Create a new project using point cloud data
A) Select File > New Project
- This opens the Create Project dialog window with the Import Image Layers dialog
- Select the point cloud file(s) to open.
- You can set the resolution in which to load the point cloud file:
dialog Create Project > field Resolution (m/pxl) and press OK - Continue loading as with any other dataset.
When rasterizing the point cloud a resolution must be set that determines the grid spacing of the raster image generated from the las file. A resolution of 1 would be the optimal value for point cloud data with a point density of 1pt/m2. For data with a lower resolution, set the value to 2 or above; for higher-resolution data, set it to 0.5 or below.
B) In the View Settings dialog
- Select the point cloud layers in the windows explorer and drag and drop them to the View Settings dialog to import them.
- Continue loading as with any other dataset.
Working with Point Cloud Data
When working with point clouds, eCognition Developer uses the following approach:
- Loaded point clouds are displayed in height rendering mode.
- Once loaded, apply the Rasterize point cloud algorithm to the data, e.g. the rasterized intensity with maximum intensity among all returns.
- Afterwards, to select a 3D subset activate the3D subset button (2-point)
 and draw a rectangle in the view or select a non-parallel subset using the 3-point subset selection button. Alternatively you can open the full extent of the 3D data using the Full 3D extent button. All buttons are available in View > Toolbars > 3D.
 - Additional raster or point cloud layers can be generated using the algorithms Rasterize point cloud
 or Create temporary point cloud
  (see
(see - When rasterizing a point cloud, gaps within the data can be interpolated using the Kernel parameter of the Rasterize point cloud algorithm or based on created image objects.
- Classification:
Point cloud points can be classified using eCognitions point cloud classification algorithms, e.g. Assign class to point cloud . Corresponding features are available in Feature view > Point cloud features.
Alternatively the raster layers can be classified using the standard classification algorithms (classification , assign class
  ). For this approach the features based on '2D objects' are available in Feature view > Object features > Point cloud. In a last step the classification result can then be assigned back to the point cloud using algorithm assign class to point cloud .
 - Finally, results can be exported using algorithm export point cloud
 .
.
Related to:
